
How to use Grids and Guides in Adobe Illustrator
While we are handling art works which needed precision ,the know how to use grids and guides in adobe Illustrator is very Important.Guide enable us to place object accurately in our art work.
Before we step into Guide and Rail , let learn some basic.
Drawing Vertical Line and Shape
- Select the ” Line Segment ” or ” Shape Tool
- Hold down ” Shift ” Key
- Drag the Shape or line with your mouse, you will see a vertical line or shape
- release the Shift key or the Mouse when done
Copy Line and Shape
- Select the Shape that you what to copy
- Hold down ” Alt ” key
- Drag the shape or line to the area that you want to copy
- release ” Alt” key and mouse when done.
Now we dive into how to use grids and guides in adobe Illustrator. Before we start using guide and grid , the first step we will need to do is to set guide and Grid to be visible in our Art Board
Display Guide and Grids
The below instruction shows how to display Guide and grids, and edit Guides and Grid
- Goto View -> Show Grid
- To edit goto edit -> adobe Preferences -> Guide and grids.-> Edit the grid according to your needs
How to Snap to Grids
Well sometimes while you are drawing , you might want to snap your object to a specific grid.
- Goto View -> Snap to grid
Configuring our Guide
Now we got our grids , and basic setting in place is now to get starting to create our guides
- Get your ruler to be display ,Hold Down “CTRL” key +R
- To create your guide , place your mouse on the ruler and drag a guide line out from the ruler.
- To Delete the Guide , you can always select the Guide and press delete.
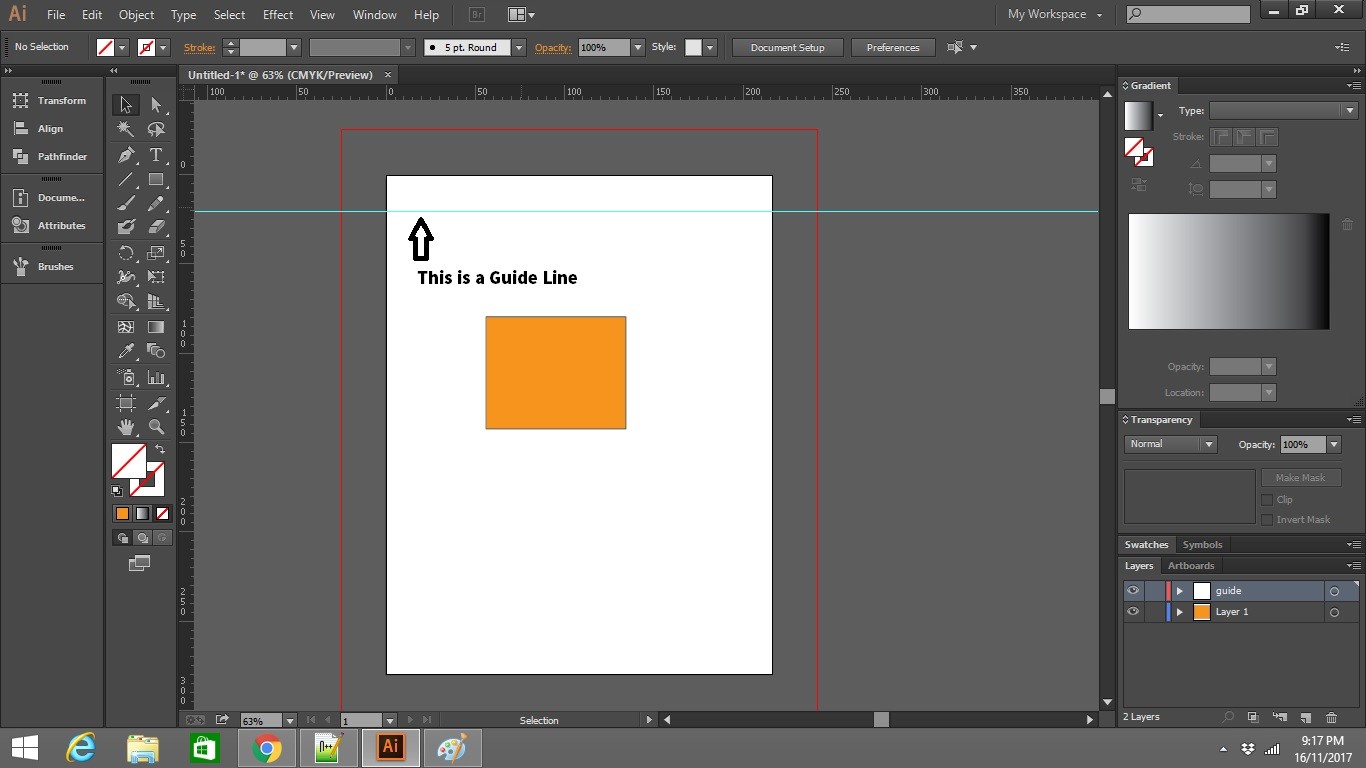
Snapping the Guide Line to your Ruler
- To do that Hold down ” Shift ” key, and drag your guide line along , and you will see your line move in sync with the unit at the ruler beside.
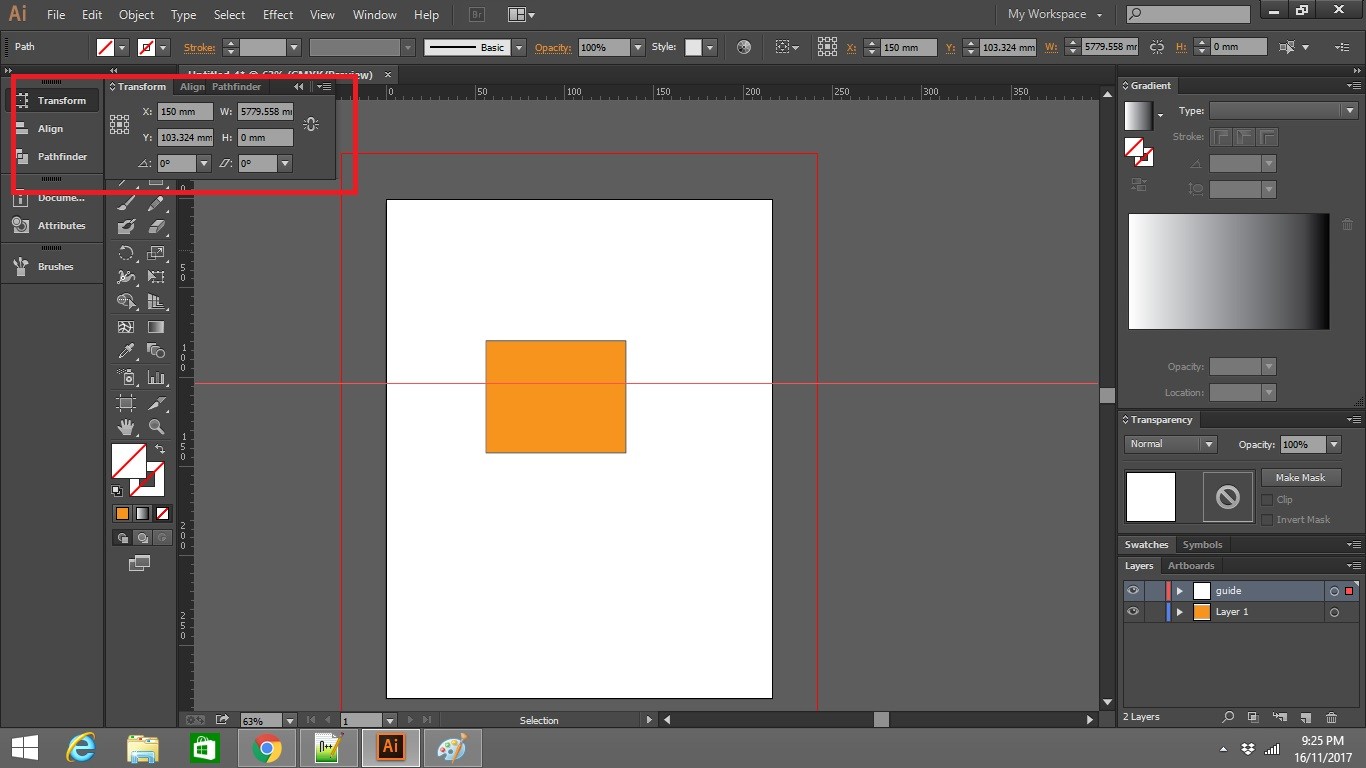
Moving the Guide Line using Transform
- Goto Object -> Transform -> and then move
- Key in the Value that you want to move and press enter
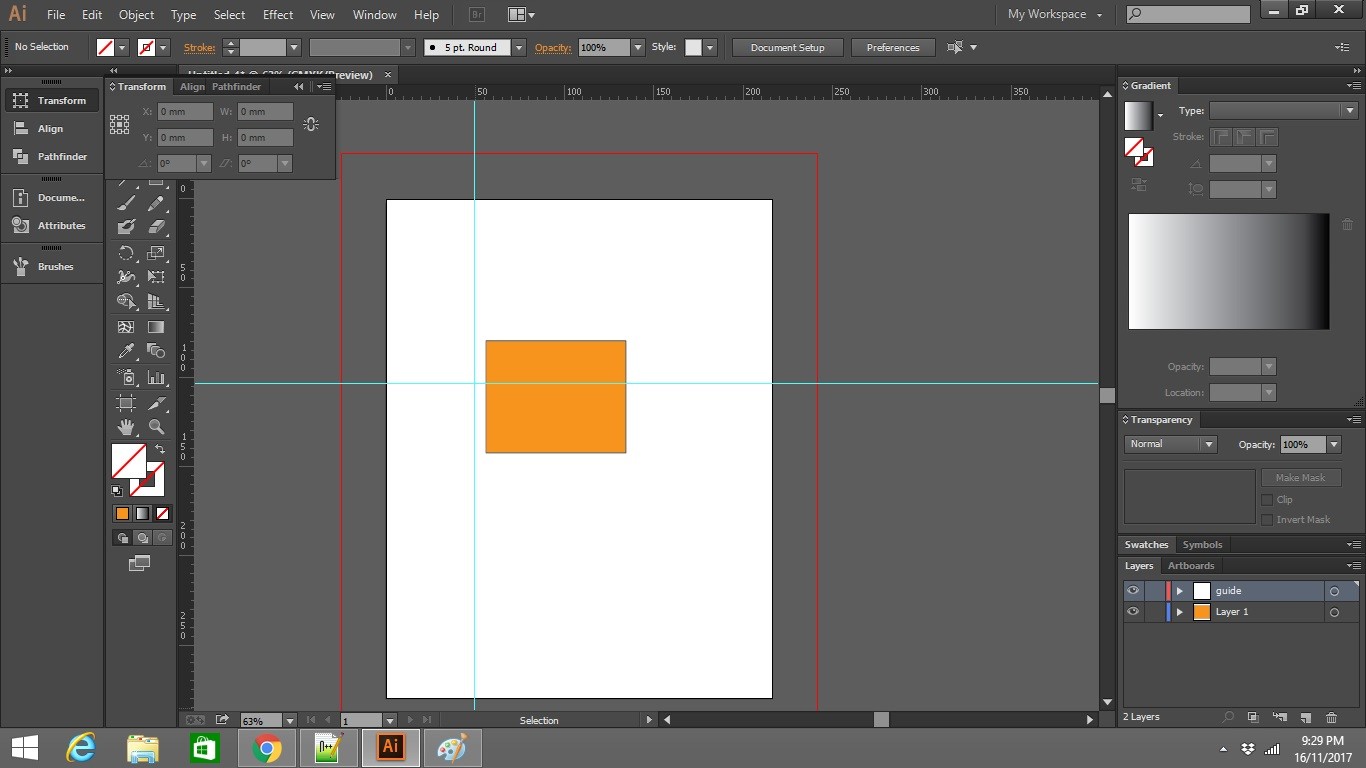
Creating a Vertical Guide Line
- Drag a Horizontal line from the ruler.
- Hold down ” alt ” key Drag to the place you want
- Release the Mouse
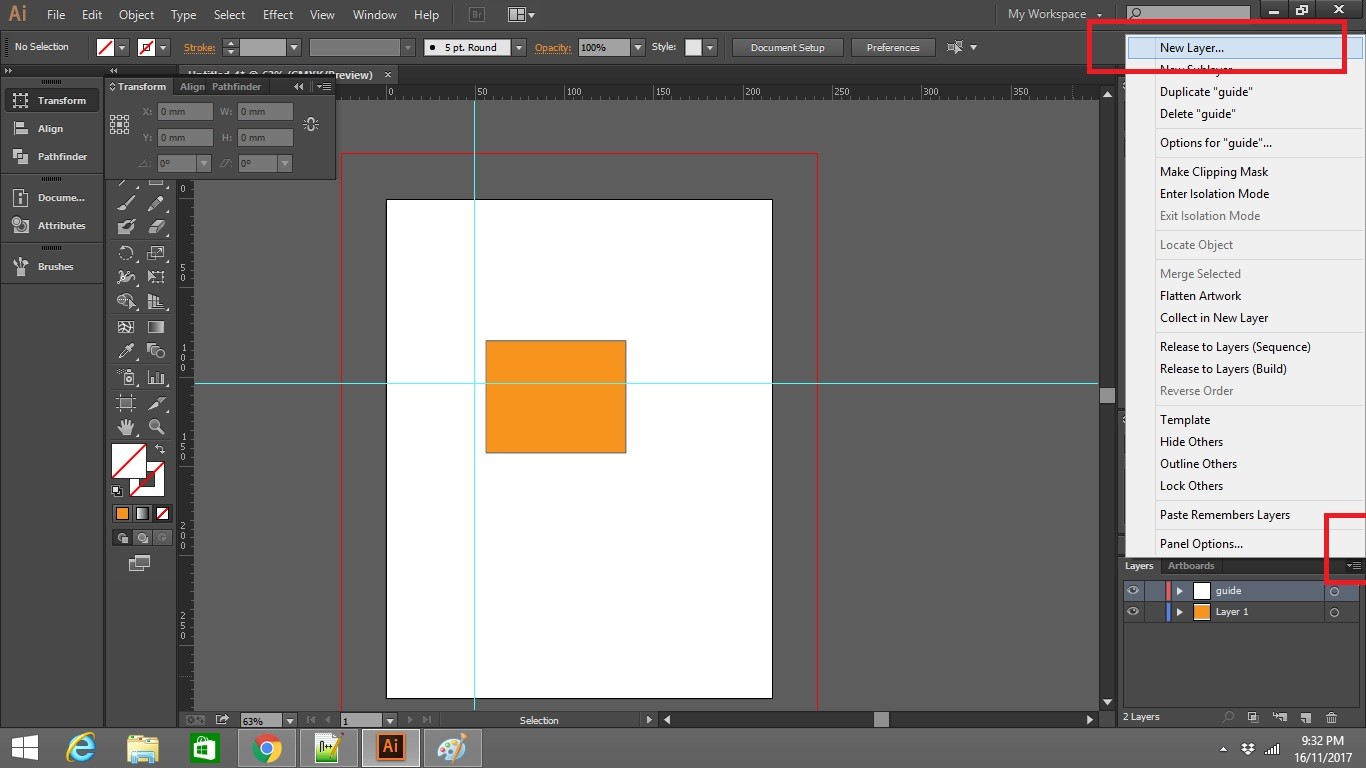
Attaching a guide to a layer
- Create New Layer
- Select the Layer you have just created.
- Drag a guide line from the Ruler
- You can choose to lock your guide using layer

Creating a Guide with Angle
- Select the line segment tool Hold down ” shift ” key you will get a 45 degree angle
- Select the guide goto View -> Guide -> make guide
Slice Object using Guide
- Draw your object
- Place the guide between the object that you want to slice.
- Select the Guide
- Goto view -> Guides-> Release Guide
- Goto Object -> Path -> And Select divide Objects Below
- This will cut the object into 2 individual pieces
Check out how to view and navigate in Adobe Illustrator here
Leave a Reply