
A Simple Android APP
A Simple Android APP, In this Article i will show you how to develop your First very Simple Android APP.
Why Learning ?
Why you should learn how to develop Android APP.? An android App Developer earns an Average Salary range between S$4500 to S$8000 in Singapore. It is the most High Paid Job in both Industry Design and IT Sector.The Salary range depends on the complexity of the APP you developed.
But Going for just the money isn’t a good Choice, you must have absolute interest and talent in it, so that you will last you longer.
Don’t be freak off by the Hardship of Programming and learning curve, once you grasp the concept and know how it will be very easy,
In order to develop Android APP for Mobile , you must setup the environment for Development
You will need to download the below
- Latest JDK ( Java Development Kit )
- Latest Runtime
- And Android Studio as well
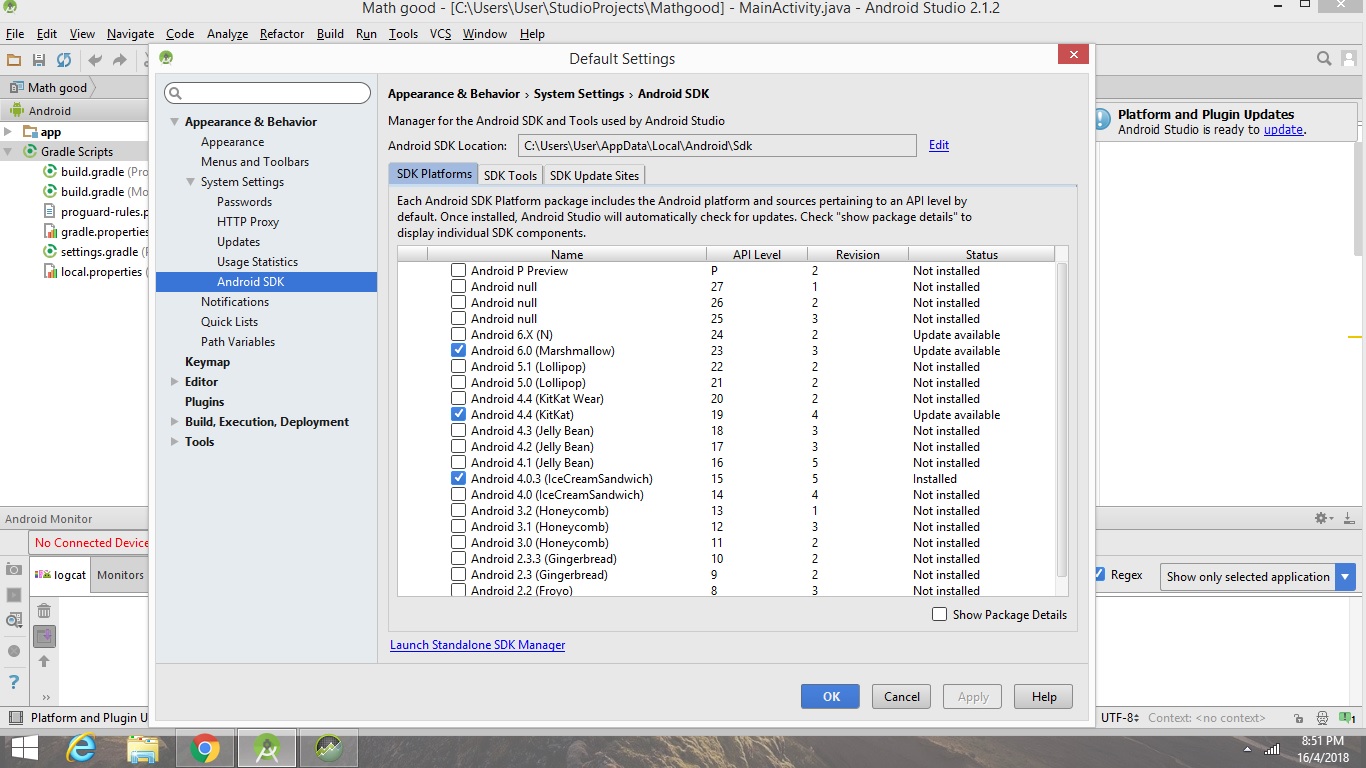
After you have Installed the Latest JDK and Android Studio, make sure that you upgrade the Android SDK Manager to latest available Software Package.
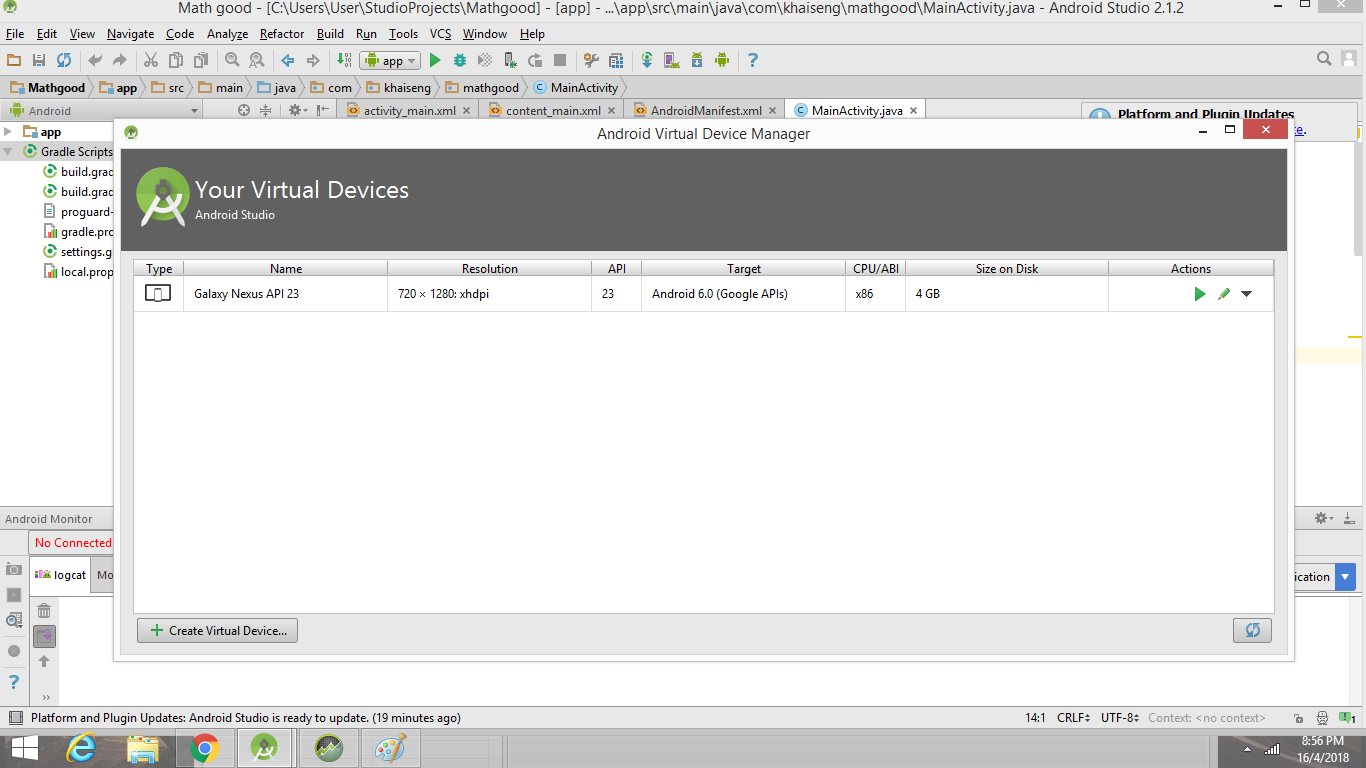
The Next Step is to Setup an Android Virtual Device Manager , by downloading the Available Device Packages
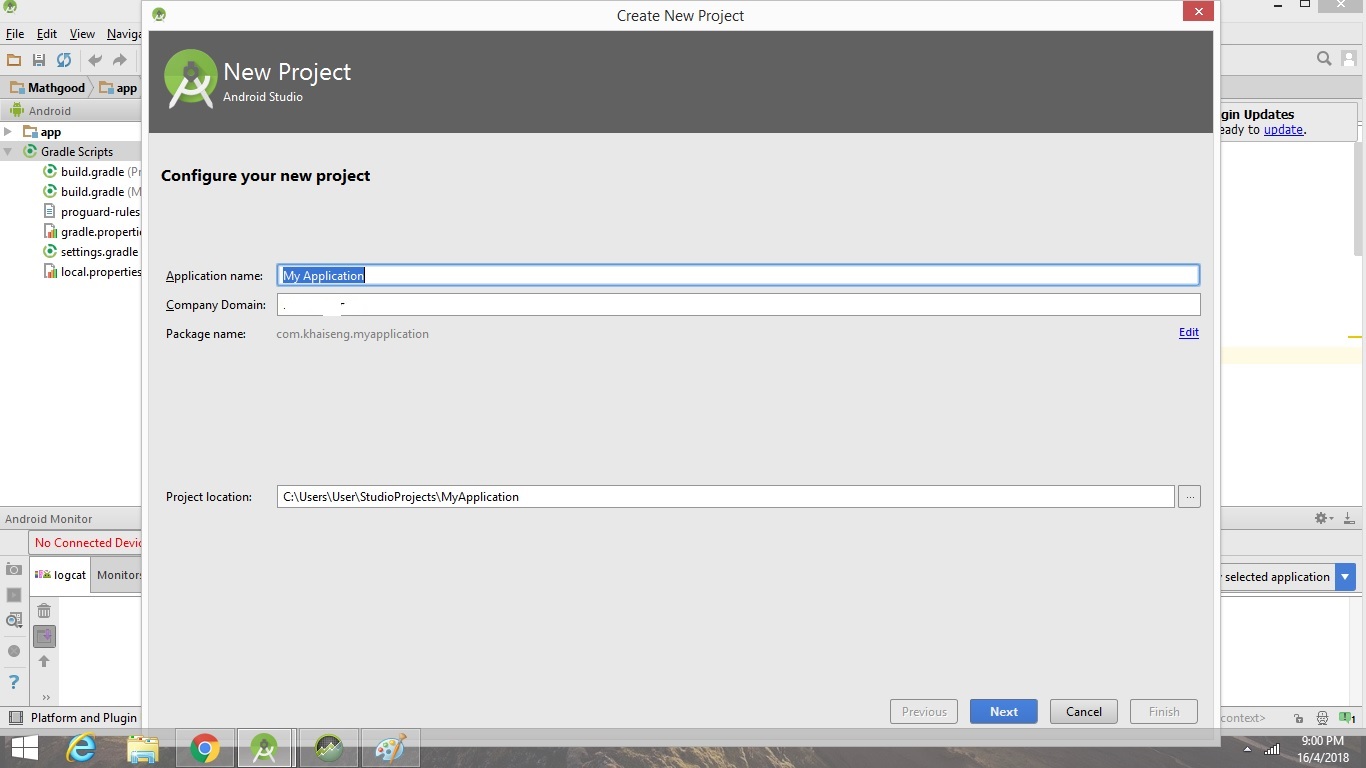
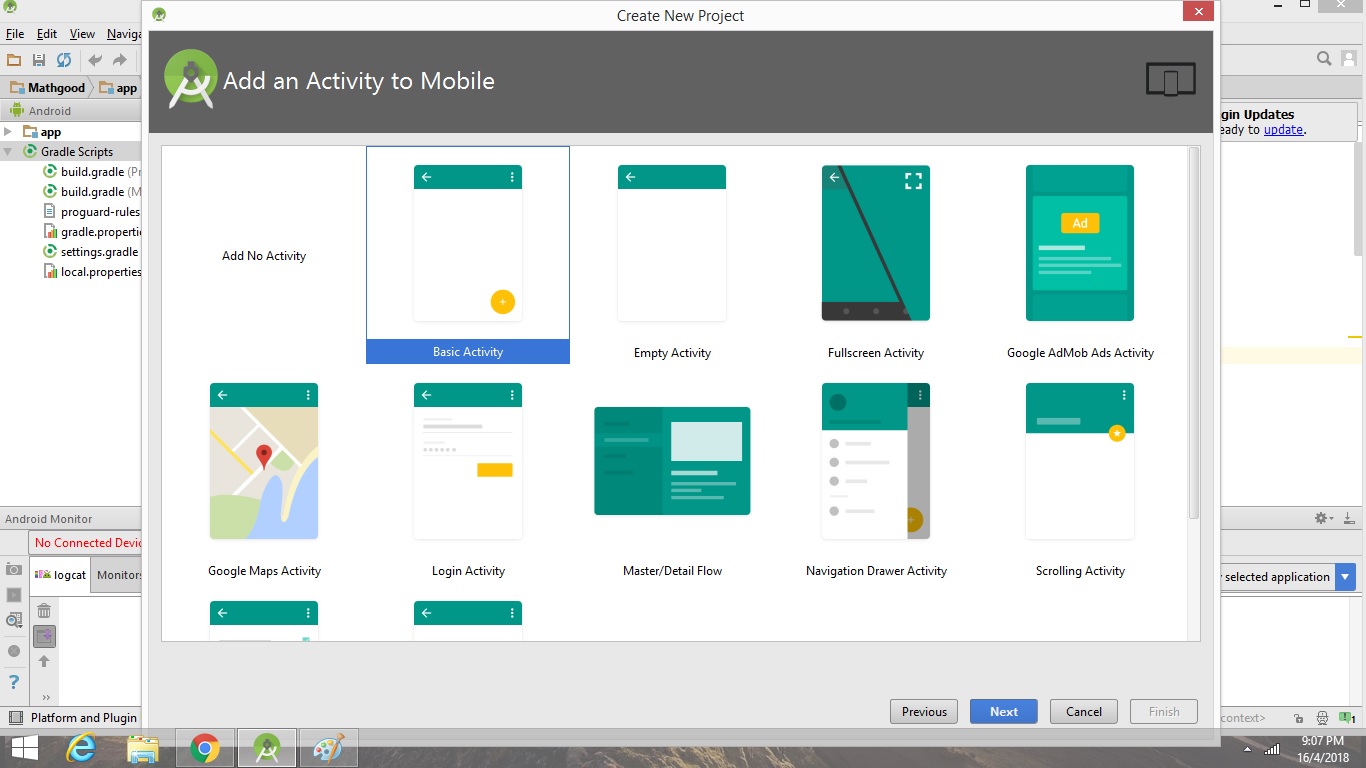
The Next Step is to Start a New Project
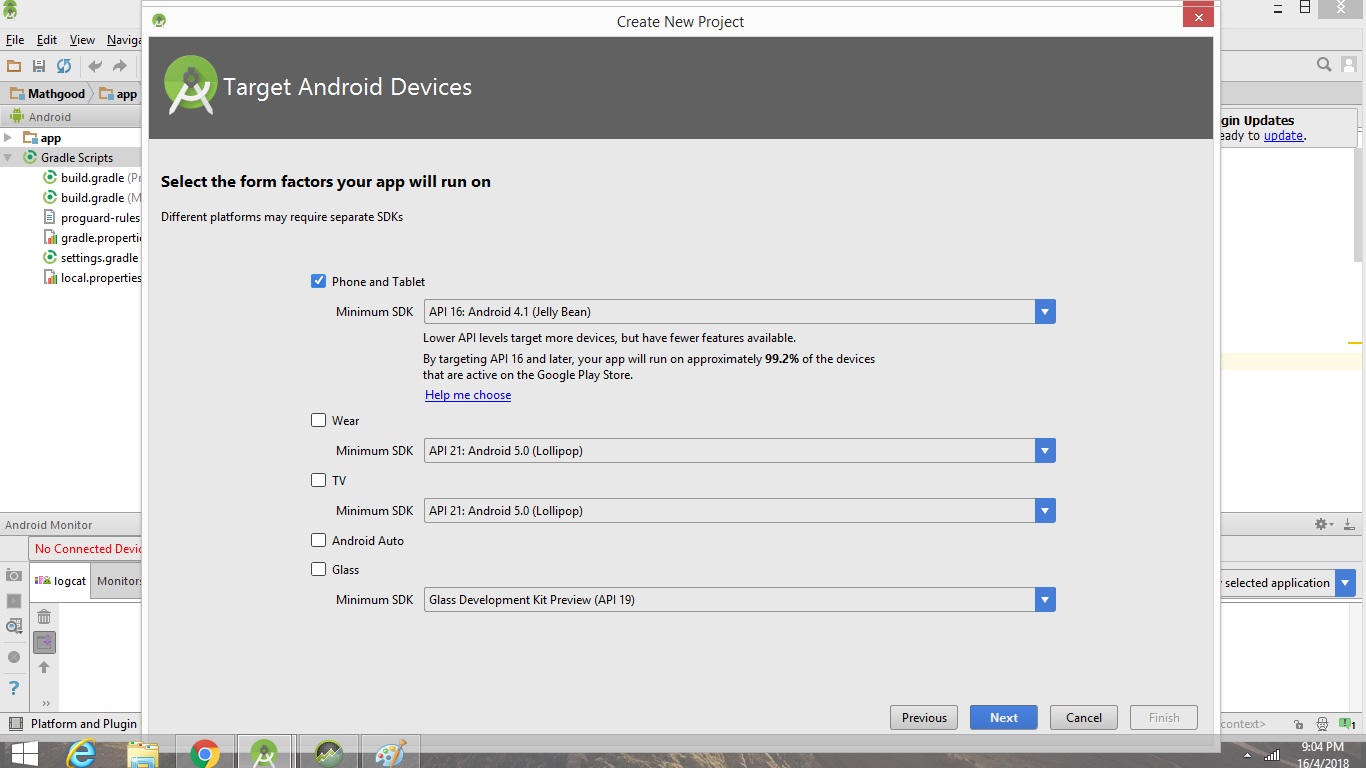
Select the Minimum SDK Version that an Android Mobile Phone can run on
Select the Basic Activity normally i will select basic Activity , as this selection pre- import all the files and function /classes/ that i need to developed an Android App
Well you are All Set , Lets dive into the Program Structure
- MainActivity – Is where you call all the Main Java Code
- Res- is where you keep all the Files, Picture , xml Layout for your App developemnt
- Content_main.xml – is where you develop your Gui interface
Well you have know all the Structure Lets Dive into the Code
- First I have created 2 Input Text with an Id in the content_main.xml File
- This ID will be call in the MainActivity.java
- And then I have Created a Button with ID
- The Button ID will be call also in the MainActivity.java also
Ok Now you are all Set Let dive into the Code :
package com.khaiseng.mathgood;

import android.os.Bundle;
import android.support.v7.app.AppCompatActivity;
import android.support.v7.widget.Toolbar;
import android.view.Menu;
import android.view.MenuItem;
import android.view.View;
import android.widget.Button;
import android.widget.EditText;
import android.widget.TextView;

public class MainActivity extends AppCompatActivity {

    TextView totalTxt;
    EditText percentage;
    EditText numbers;


    @Override
    protected void onCreate(Bundle savedInstanceState) {
        super.onCreate(savedInstanceState);
        setContentView(R.layout.activity_main);
        Toolbar toolbar = (Toolbar) findViewById(R.id.toolbar);
        setSupportActionBar(toolbar);


        totalTxt = (TextView) findViewById(R.id.totalText);
        percentage =(EditText) findViewById(R.id.percentText);
        numbers = (EditText) findViewById(R.id.numberText);

        Button calcBtn = (Button)findViewById(R.id.calc);
        calcBtn.setOnClickListener(new View.OnClickListener(){
            @Override
            public void onClick(View view){

                 float percent = Float.parseFloat(percentage.getText().toString());
                 float dec =  percent /100;
                 float total = dec *Float.parseFloat(numbers.getText().toString());
                 totalTxt.setText(Float.toString(total));

           }


        });
    }

    @Override
    public boolean onCreateOptionsMenu(Menu menu) {
        // Inflate the menu; this adds items to the action bar if it is present.
        getMenuInflater().inflate(R.menu.menu_main, menu);
        return true;
    }

    @Override
    public boolean onOptionsItemSelected(MenuItem item) {
        // Handle action bar item clicks here. The action bar will
        // automatically handle clicks on the Home/Up button, so long
        // as you specify a parent activity in AndroidManifest.xml.
        int id = item.getItemId();

        //noinspection SimplifiableIfStatement
        if (id == R.id.action_settings) {
            return true;
        }

        return super.onOptionsItemSelected(item);
    }
}
The Code
- Wholly Molly What the crap code is this seems intimidating Huh !!
- No Worries lets us step through together
- Well in any Programming language to use any of some special class or function you need to import it
- Declare the Variable Type “TextView /EditText ” is a Type while. totalTxt , percentage etc is the variable type
- @Override — is something you found in Java, the function is to override the parent class function
- all this super.onCreate(savedInstanceState);setContentView(R.layout.activity_main); are just code to set up the Mobile Layer
- ” totalTxt = (TextView) findViewById(R.id.totalText);” This means grab the Value in the id called”totalText ” assign to Variable” totalTxt” type TextView
- the above Applies to “percentage” and “numbers”
- float percent = Float.parseFloat(percentage.getText().toString()); -> Get the Value from the ID “textbox” where the User enters its value and save it into “percent ” type float
- float total = dec *Float.parseFloat(numbers.getText().toString()); –< Get the Value from the ID "textbox" where the User enters its value and multiply it to the dec Variable anfd saved the value into the "total " Variable
- totalTxt.setText(Float.toString(total));–> Means Set the Tet and display the Result “total ” being calculated
Leave a Reply